Current Conditions in Kodaikanal
- --°C
- --
- Humidity: --%
- Rain Next 3h: --%
- Sunrise: --:--
- Sunset: --:--
- Sunset Visibility: --
- Photography: --
- Trekking: --
- --
🕒 Updated -- minutes ago ()
Introduction
Why Kodaikanal Works for Sunrise Photography
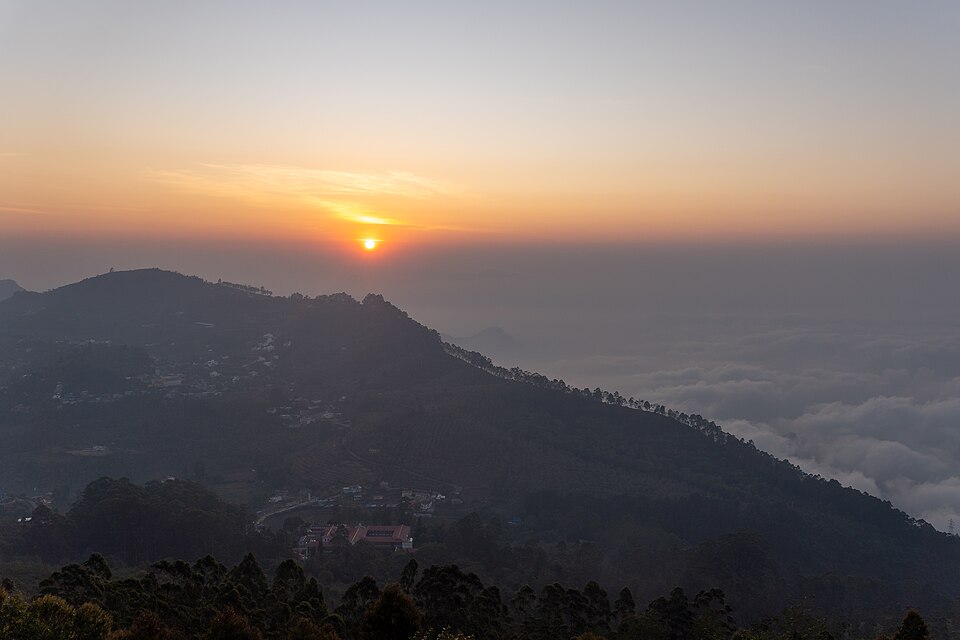
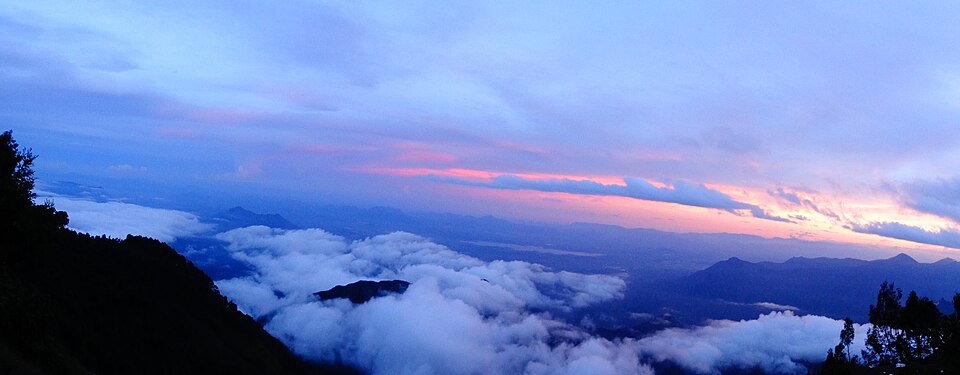
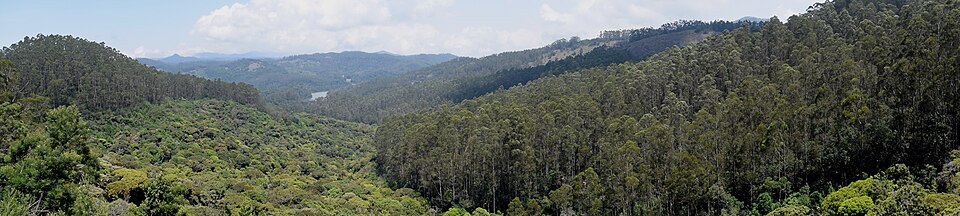
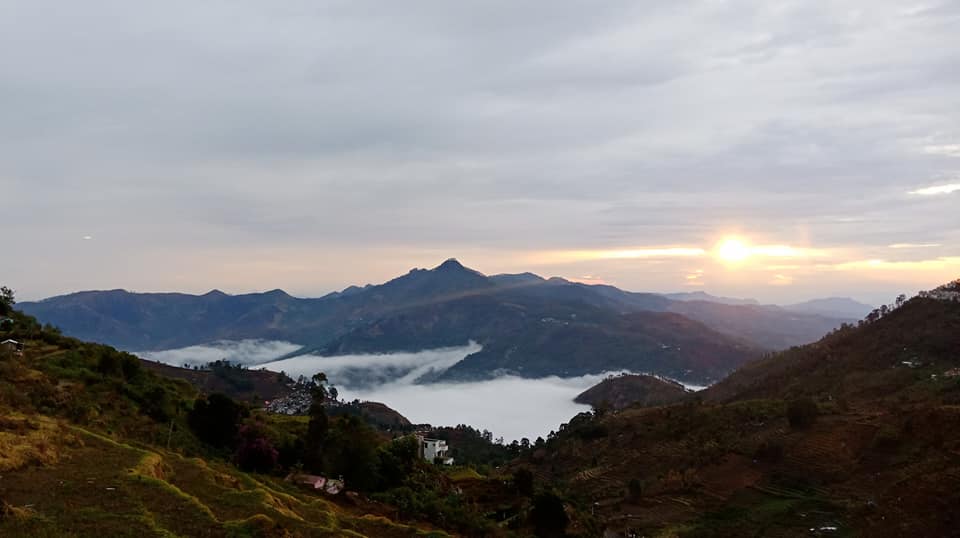
Kodaikanal's position at roughly 2,133 metres on the southern edge of the Palani Hills creates a set of conditions that few other South Indian hill stations replicate for morning photography: a near-constant layer of valley mist sitting below the ridgeline in the early hours, combined with east- and south-facing viewpoints that look directly toward the horizon as the sun rises.
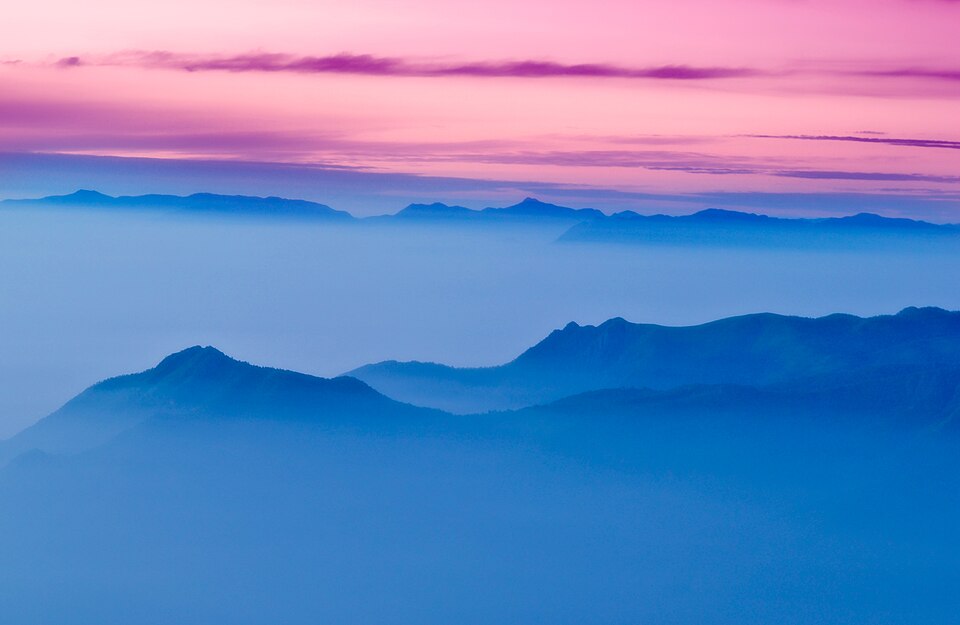
The mist itself, which fills the valleys below while the ridges catch the first light, is what separates many of these shots from a standard sunrise at a flat location — the layered effect of lit peaks above mist gives even a moderate composition a sense of depth that's difficult to get elsewhere in Tamil Nadu.
This guide is written for photographers planning a shoot around sunrise specifically, covering arrival times, the light conditions to expect at each location, lens and composition recommendations, and the access logistics that matter when you're setting out before 5:30 AM. It is equally useful for travelling photographers on a general itinerary looking to identify which one or two spots are worth the early start.
The months with the most consistently clear morning skies are October to February and April to May. June to September brings the monsoon, when mist often doesn't lift until midday and cloud cover frequently blocks sunrise entirely — though occasional breaks in the cloud can produce exceptionally dramatic light for those willing to try.
Sunrise Time Range
6:00–6:30 AM
Best Months
Oct–Feb, Apr–May
Spots Covered
7 Locations
Elevation
~2,133 m
Featured Snapshot
Quick Summary Table
All seven spots at a glance, so you can plan your morning without reading every section first.
| Spot | Difficulty | Arrive By | Entry Fee | Best For |
|---|---|---|---|---|
| Kurinji Andavar Temple | ● Easy | 5:45 AM | Free | Pilgrims, golden hour, wide valley shots |
| Coaker's Walk | ☀ No Effort | 6:00 AM | ₹30 / adult | Mist layers, cloud sea, heritage backdrop |
| Pillar Rocks | ● Easy | 6:30 AM | ₹5 / adult | Dramatic rock silhouettes, fog shots |
| Dolphin's Nose | ◆ Moderate | 5:30 AM | Free | Cliff-edge panoramas, trekker photographers |
| Green Valley View | ☀ No Effort | 6:00 AM | Free | Deep valley mist, casual shooters |
| Moir Point | ◆ Moderate | 5:45 AM | ₹10 / adult | Valley + dam framing, uncrowded angles |
| Berijam Lake | ◆ Moderate | 9:30 AM (convoy entry) | ₹250 forest permit (car) | Glassy lake reflections, wildlife backdrop |
Drone use at these locations is subject to Forest Department and Civil Aviation Authority regulations. Check current rules and obtain any required permits before flying at any of these sites.
Pre-Shoot Planning
Sunrise Photography Map
Use the map to plan your route and gauge driving time from your accommodation to the spot, since pre-dawn roads need to be factored into your arrival window.
Kurinji Andavar Temple Viewpoint
A hilltop temple with an east-facing, open-horizon sunrise


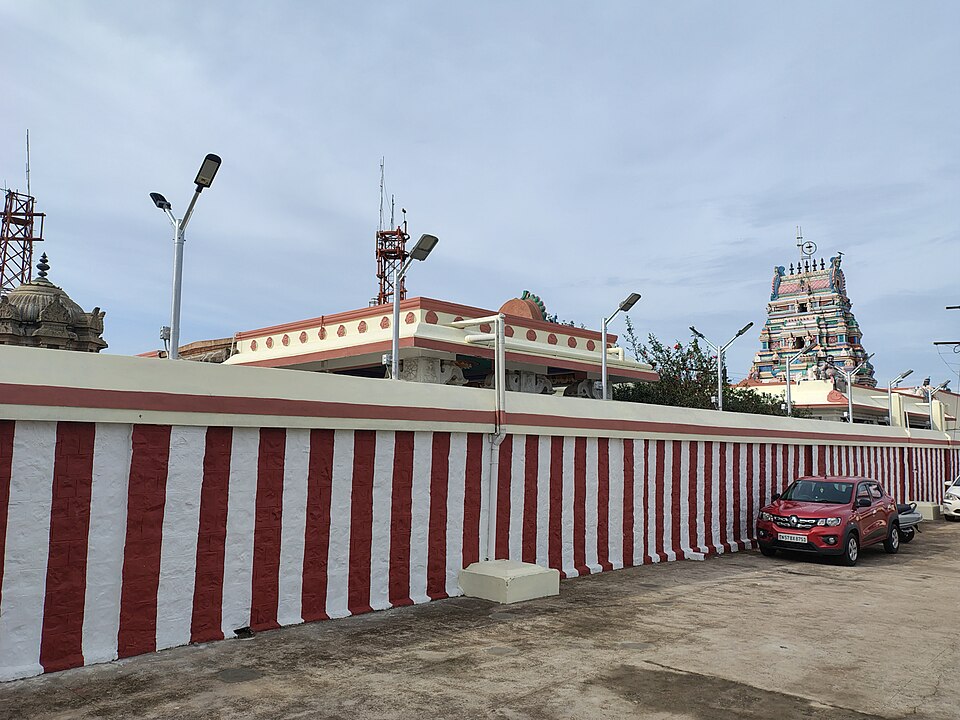
Why It's Great for Photography
Kurinji Andavar Temple sits on a hilltop with an unobstructed east-facing view, meaning the sun rises directly into the frame from the main viewing area. The temple's Dravidian tower makes a strong foreground element against an open sky, and the low visitor count in early morning removes one of the main obstacles at the more popular viewpoints.
What You'll Capture
The temple tower silhouetted against gradient pre-dawn sky, followed by the sun clearing the valley horizon, with layered hills lit orange and pink in the minutes after first light.
Best Time to Reach
Arrive by 5:30 AM to set up in darkness before the pre-dawn gradient begins; the light changes quickly in the first 15 minutes after 6:00 AM.
Photography Tips
Accessibility
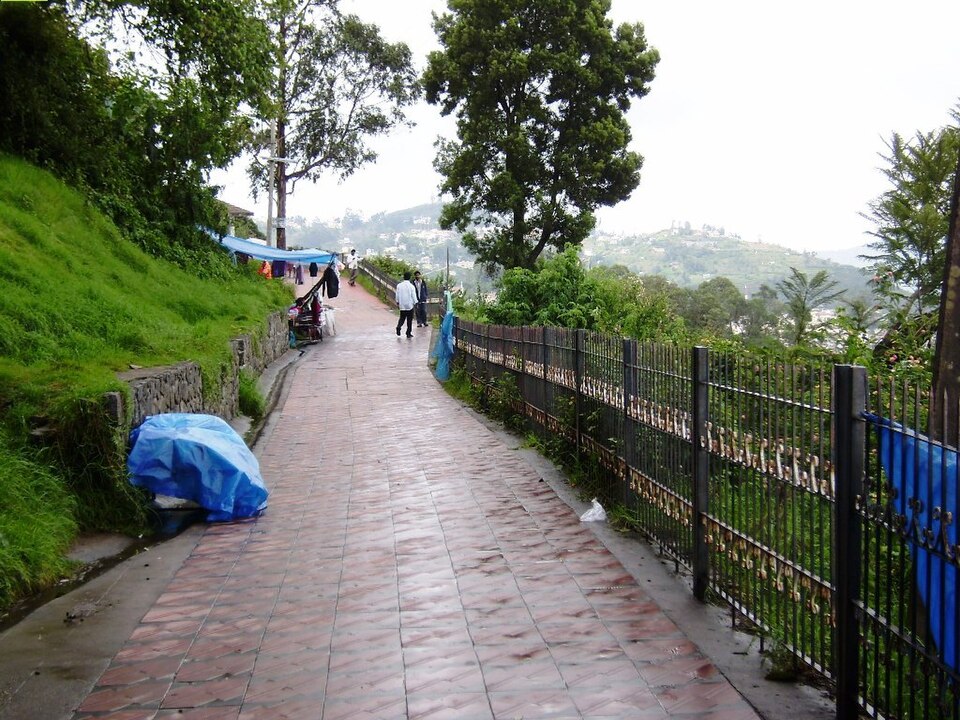
Coaker's Walk
A paved ridge path for consistent valley-mist shots
Why It's Great for Photography
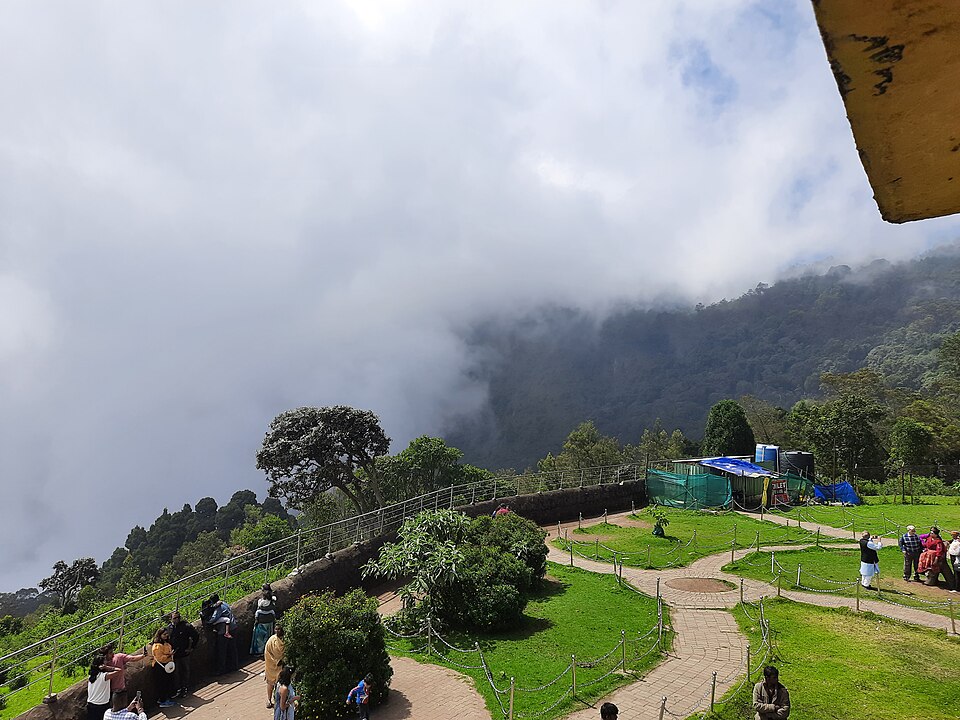
Coaker's Walk faces the valley and, in early morning, the mist sitting in the valley below frequently produces a sea-of-clouds effect as the light begins. The paved, flat path means you can move along the ridge to find the angle you want without worrying about terrain.
What You'll Capture
A sea of valley mist with the plains barely visible beyond, orange-tinted ridgelines emerging from the haze as the sun rises, and — on the best mornings — the Brocken Spectre effect where your shadow projects onto the mist below.
Best Time to Reach
Arrive by 5:45 AM; the gate opens early, but confirm current opening time before arriving in darkness.
Photography Tips
Accessibility
Pillar Rocks
Three granite pillars rising through morning mist


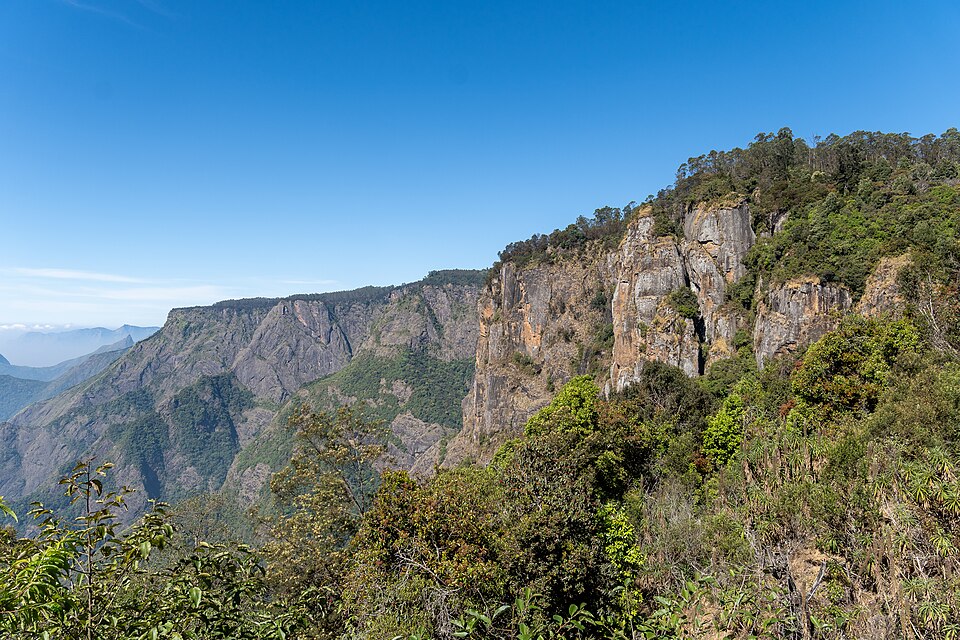
Why It's Great for Photography
The three granite columns at Pillar Rocks emerge from morning mist in a way that is almost impossible to replicate in standard daylight — the mist partly veils the lower sections of the rocks while the lit sky fills the frame above, creating a natural gradient that does much of the compositional work for you.
What You'll Capture
The three pillars rising through layered mist, with a colour-gradient sky behind; pre-dawn blue light makes for a striking alternative to the standard golden-hour shot.
Best Time to Reach
Arrive by 5:30 AM to catch the pre-dawn blue hour before first light hits the rock faces. Note the gate has a fixed opening time — confirm this locally before your visit, as it may not be accessible in complete darkness.
Photography Tips
Accessibility
Dolphin's Nose
A cliff-edge ledge above a sheer valley drop
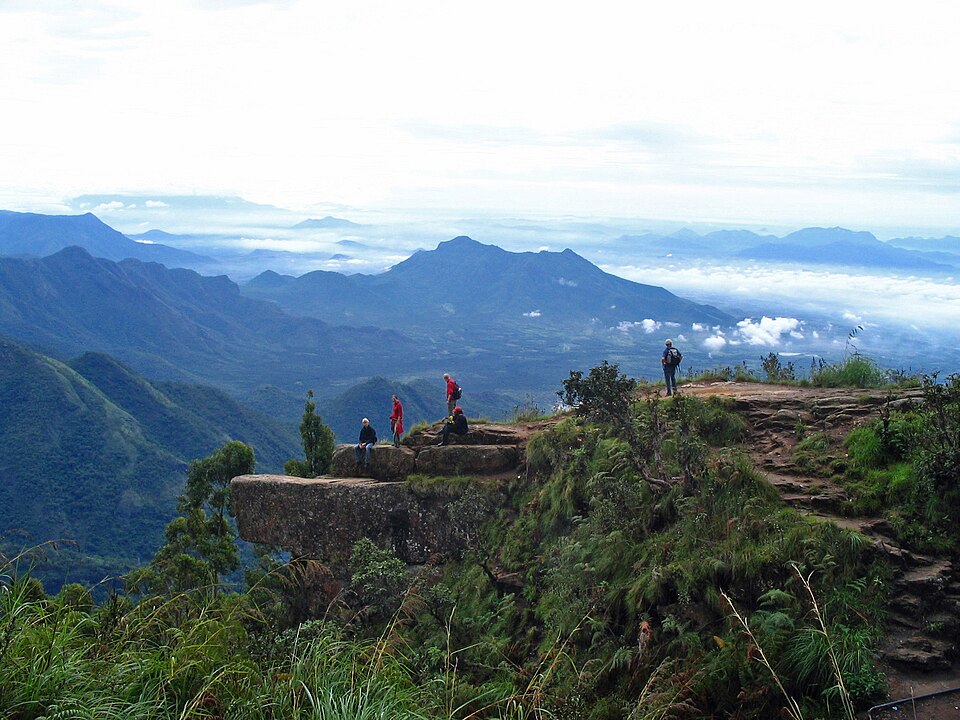
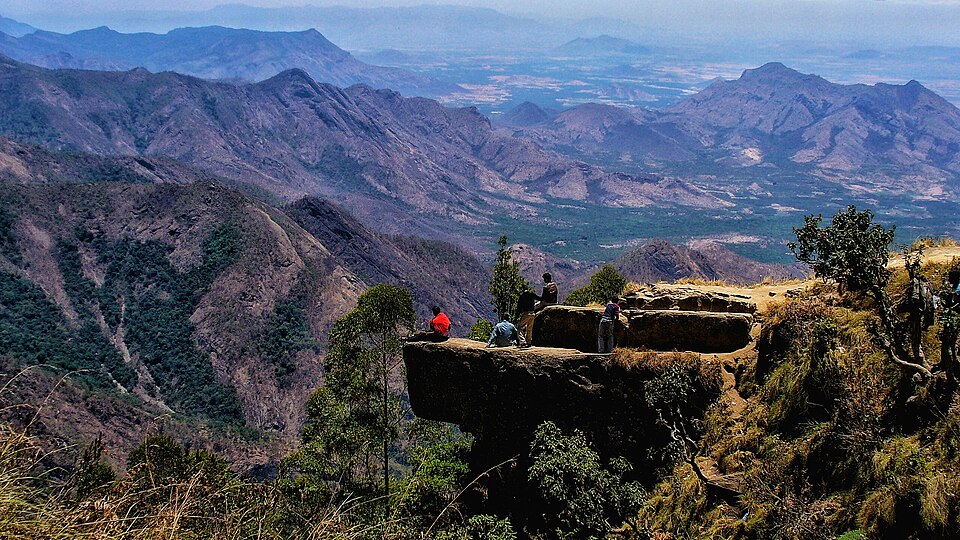
Why It's Great for Photography
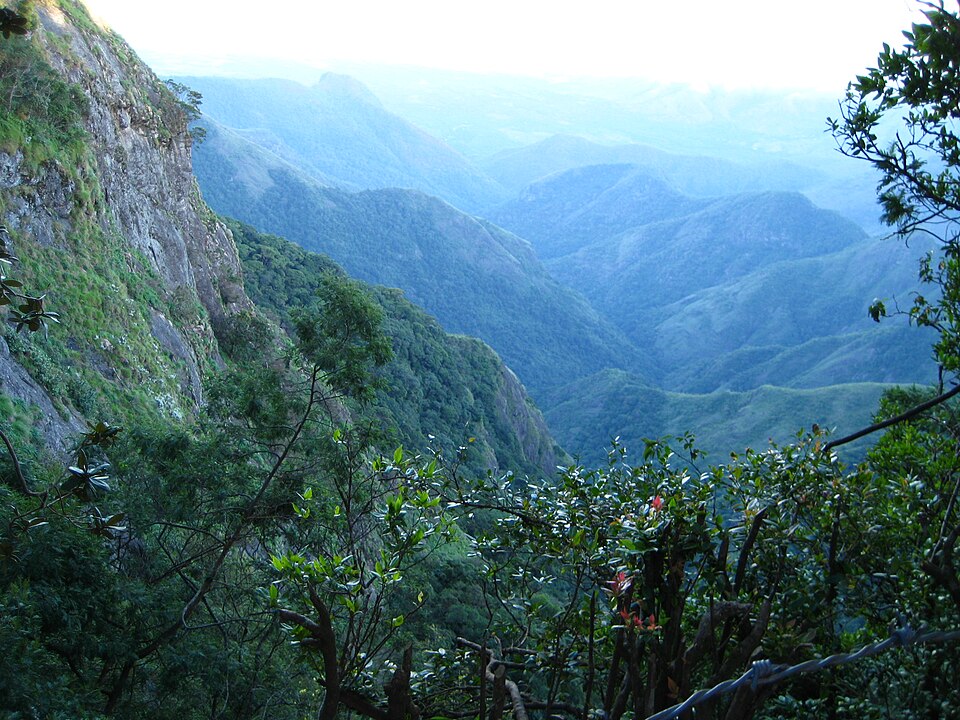
Dolphin's Nose is the highest-reward location on this list for photographers willing to do the pre-dawn trek. The flat rock ledge overhangs a deep valley with nothing blocking the view in any direction, giving you a 180-degree frame to work with as the light changes across the sky. The depth of the valley below also allows for long foreground-to-background shots that are harder to achieve at the shallower ridge viewpoints.
What You'll Capture
A wide valley frame with dramatic depth, sun rising over a distant ridge, and silhouette shots of fellow trekkers or lone trees against the lit sky.
Best Time to Reach
Leave the trailhead by 5:00 AM to allow for the 20–30 minute walk and set up time at the ledge before first light.
Photography Tips
Accessibility
Green Valley View
A cliffside lookout with a clear drop for layered mist shots
Why It's Great for Photography
Green Valley View faces south over a deep valley, and in the early morning the low sun catches the mist layers in the valley in a way that can produce strong silhouette and atmospheric-depth shots. Unlike Coaker's Walk or the temple viewpoint, it is roadside, meaning equipment can stay in the vehicle until you're ready to shoot.
What You'll Capture
A deep valley lit from the side by low morning light, Vaigai Dam visible in the far distance on clear days, and mist layers filling the valley floor.
Best Time to Reach
Arrive by 5:45 AM; the fenced viewing area typically opens at or just before sunrise.
Photography Tips
Accessibility
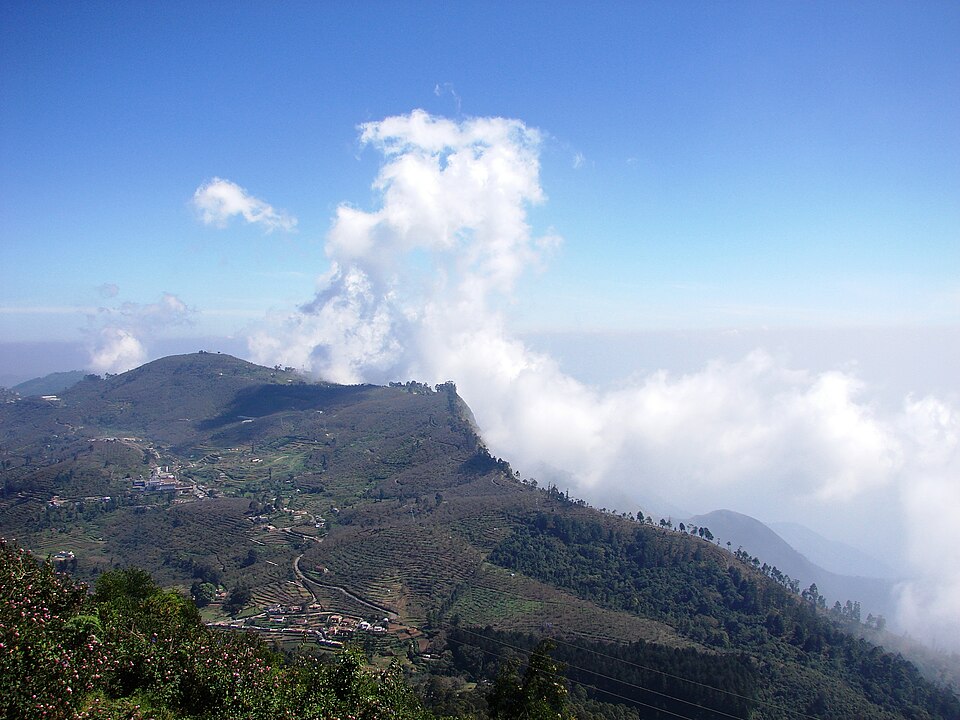
Moir Point
An open hill view without the crowd of the central spots
Why It's Great for Photography
Moir Point's main photographic advantage over the better-known viewpoints is the near-absence of other visitors in early morning, giving photographers clean frames without people walking into the shot. The view over the layered Western Ghats is wide and unobstructed, and the roadside position means no time is lost on a trail.
What You'll Capture
Layered hill ranges with warm morning light raking across the ridges, mist in the mid-valley, and an uncluttered foreground compared to the busier town viewpoints.
Best Time to Reach
Arrive by 5:45 AM; the roadside location is accessible at any hour.
Photography Tips
Accessibility
Berijam Lake View Point
A still forest lake that mirrors the early morning sky
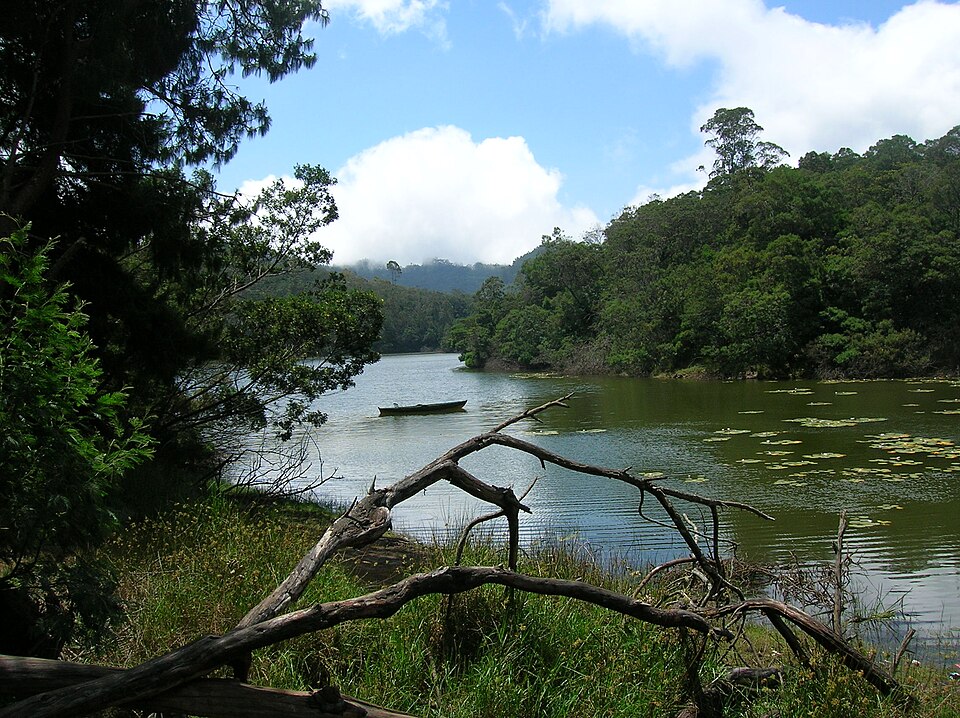
Why It's Great for Photography
Berijam Lake's mirror-still surface reflects the pre-dawn and early morning sky, producing symmetry shots that aren't available at any other location in this list. The surrounding forest frames the lake, keeping the background clean, and the controlled access means you won't share the frame with a crowd.
What You'll Capture
A still lake reflection of the coloured sky, forest tree lines framing the water, and occasional bird or wildlife activity in the early morning hours.
Best Time to Reach
Entry is fixed to the Forest Department convoy schedule. Confirm the morning convoy timing when collecting your permit, and aim to be at the lakeshore as early in that window as possible.
Photography Tips
Accessibility
Side by Side
Comparison Table
Match each spot to your priorities — equipment load, crowd tolerance and the type of shot you're planning.
| Spot | Photography Rating | Crowd | Easy Access | Best Season |
|---|---|---|---|---|
| Kurinji Andavar Temple | ⭐⭐⭐⭐½ | Low | Easy | Oct–Jan |
| Coaker's Walk | ⭐⭐⭐⭐ | High | Easy | Nov–Feb |
| Pillar Rocks | ⭐⭐⭐⭐½ | Moderate | Moderate | Dec–Feb |
| Dolphin's Nose | ⭐⭐⭐⭐⭐ | Low | Difficult | Nov–Mar |
| Green Valley View | ⭐⭐⭐⭐ | Moderate | Easy | Dec–Feb |
| Moir Point | ⭐⭐⭐½ | Very Low | Moderate | Oct–Jan |
| Berijam Lake | ⭐⭐⭐⭐⭐ | Very Low | Permit Needed | Nov–Feb |
General Guidance
Sunrise Photography Tips for Kodaikanal
Before You Leave
Camera and Gear
Light and Exposure
On-Site Practical Notes
Related Articles
Common Questions
Frequently Asked Questions
What time does the sun rise in Kodaikanal?
+Sunrise generally falls between 6:00 AM and 6:30 AM, shifting earlier in summer and slightly later in winter. Arriving 30 to 45 minutes before the listed sunrise time ensures you are set up before the first light appears on the horizon.
Which is the best sunrise spot in Kodaikanal for photography?
+Kurinji Andavar Temple is widely considered the best sunrise photography location in Kodaikanal, given its east-facing hilltop position, clean horizon and low visitor count in early morning hours. Dolphin's Nose and Berijam Lake offer equal photographic potential but require more planning to access.
Which months give the clearest sunrise in Kodaikanal?
+October to February and April to May offer the most consistently clear morning skies. The monsoon months of June to September bring frequent mist and cloud that can obscure the horizon at sunrise.
Is a tripod useful for sunrise photography in Kodaikanal?
+Yes. Low-light conditions in the minutes before and just after sunrise make a tripod essential for sharp long-exposure shots, especially at misty spots like Pillar Rocks or Berijam Lake.
Are drones permitted at Kodaikanal sunrise viewpoints?
+Drone regulations in Kodaikanal are subject to Forest Department and Civil Aviation Authority rules, which restrict flying near forests and protected areas. Checking current regulations before your trip and obtaining any required permits is strongly recommended.
How cold is it at sunrise in Kodaikanal?
+Early morning temperatures can drop to 8–12°C in winter months and 12–15°C in summer, making warm layers essential for a comfortable pre-dawn shoot.